How do you translate audio to English?
To translate audio to English, upload the recording to an audio translator, choose the spoken language and English as the target, then pick translated subtitles only or subtitles plus AI dubbing. The tool recognises the speech, translates it and, if you asked for dubbing, reads it back in a new voice. Download the result and check names and numbers first.
That is the whole workflow in one paragraph. The rest of this guide explains what happens between upload and download, how to choose between subtitles and dubbing, and which mistakes are worth catching before anyone else hears the result.
What actually happens when you translate an audio file
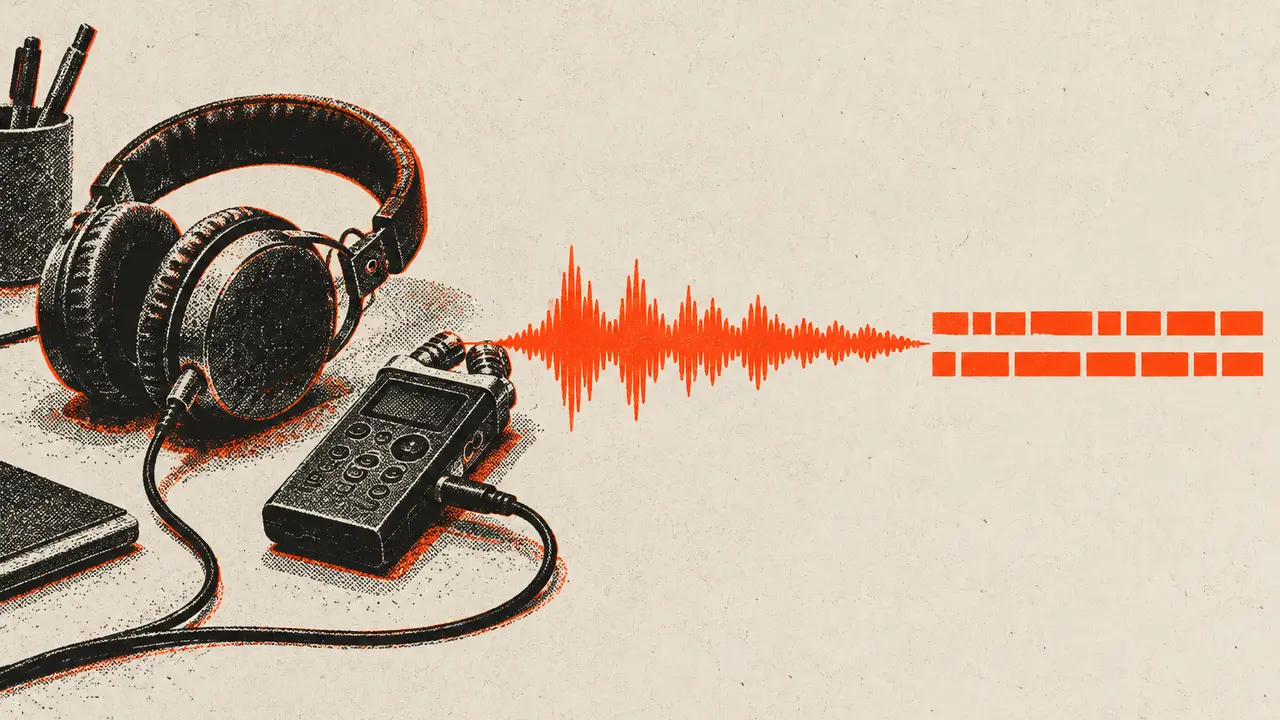
An audio translator is not one model doing one job. It is a short pipeline of three stages, and each stage hands its output to the next.
The first stage is speech recognition. The software listens to the recording and writes down what was said, with timestamps, which gives you the original-language subtitles. The second stage is translation: those subtitle lines are translated into the target language, line by line, with enough surrounding context to keep sentences coherent. The third stage is optional speech synthesis, where an AI voice reads the translated lines aloud so you end up with a new audio track in the target language.
The important consequence is that errors travel downstream. If the recogniser mishears a product name, the translator will faithfully translate the wrong word, and the dubbing voice will say it clearly and confidently. Translation cannot fix a word that was never recognised correctly in the first place. That is why the quality of the original recording matters more than most people expect, and why the review step at the end focuses on the places where recognition usually struggles.
It also explains why the original subtitles are useful even if you only care about the translation. When a translated line looks odd, comparing it with the recognised original tells you immediately whether the problem started in recognition or in translation.
Subtitles only or AI dubbing: which should you choose?
Most audio translators give you the same basic choice: stop after translation and take the text, or continue and generate a translated voice. Neither is better in general. They serve different listeners.
| Translated subtitles only | Subtitles plus AI dubbing | |
|---|---|---|
| What you get | Translated subtitle file | Target-language audio, original subtitles and translated subtitles |
| Best for | Reading along, transcripts, notes, quoting, publishing captions yourself | People who need to listen rather than read, such as podcast audiences or training material |
| Time and effort | Shorter pipeline, less to review | One more stage, so also check pacing and pronunciation |
| After editing the text | Edits simply update the subtitles | Edits can be re-dubbed so the voice matches the corrected text |
| Cost logic | Based on audio duration | Also based on audio duration; re-dubbing after edits uses extra credits |
A simple rule of thumb: if the translation will be read, quoted or pasted somewhere, subtitles are enough. If someone needs to hear it, for example an interview you want to share with an English-speaking audience or a voice memo for a colleague who does not read the source language, turn dubbing on.
If you are unsure, start with the text. Reading translated subtitles is the quickest way to judge whether the recording and the translation are good enough to be worth voicing.
How to prepare a recording before you translate it
A few minutes of preparation usually saves more time than any amount of editing afterwards.
Use a supported format. Belin Doc's audio translator accepts MP3, WAV, M4A, AAC and FLAC. Formats such as OGG, Opus, WMA and AMR are not supported, so convert those files to one of the accepted formats first. Most free audio editors and converters can export MP3 or WAV in a couple of clicks.
Keep the voice clear. Speech recognition tends to work best when one person speaks at a time, close to the microphone, without heavy background music. Recordings of meetings where people talk over each other, or clips with loud music under the voice, usually produce more recognition errors. If you have a cleaner version of the same recording, use that one.
Trim what you do not need. Long silences at the start, a pre-show chat, or ten minutes of setup noise all get processed and billed like everything else. Cutting them before upload makes the result shorter to review and cheaper to produce.
Split very long recordings when it helps you. A three-hour workshop is easier to check in parts, and if one section has poor audio you can deal with it separately. Since the tool takes one file per task, splitting a long recording also lets you translate the important parts first.
Know what language is actually spoken. Choosing the right source language helps the recogniser. If a recording switches between languages, expect the parts in the other language to need more checking.
What to check before you share a translated recording
Automatic translation of speech is good at getting the general meaning across. The places where it tends to go wrong are predictable, so a short, targeted review catches most problems.
Start with names and specialist terms. Personal names, company names, product names and jargon are the words a recogniser is least likely to have heard before, so it often replaces them with a similar-sounding common word. Search the translated subtitles for every name you know should appear.
Next, check numbers. Prices, dates, percentages and quantities are easy to mishear and easy to mistranslate, and a wrong number does more damage than a slightly awkward sentence. Compare each number with the original subtitles.
Then look at timing and line length. Translated sentences can be longer than the original, so a subtitle may stay on screen for too short a time to read comfortably. If you plan to publish the subtitles, play them against the audio once.
If you chose dubbing, listen to the translated audio from start to finish at least once, focusing on pronunciation of names and whether the pacing sounds natural. When you fix a line in the subtitles, remember that the voice track does not change by itself. On Belin Doc you can edit the translated subtitles after the task finishes and then generate the dubbing again so the audio matches the corrected text. Re-dubbing uses extra credits, so it is worth batching all your corrections into one pass.
Audio translator, video translator or a live voice-translation app?
These three tools get searched with similar words, but they do different jobs.
A live voice-translation app is built for conversations. You speak into your phone, it translates a sentence or two, and the other person replies. It is designed for speed, not for producing a file, and it usually does not give you timed subtitles or a finished audio track.
An audio file translator is built for recordings you already have: podcasts, interviews, lectures, voice memos, meeting recordings. It processes the whole file, gives you timed subtitles you can edit, and can produce a complete dubbed track. This is the right choice when the output has to be kept, reviewed or shared.
A video translator does the same kind of work for video files, with the added job of keeping subtitles and dubbing in sync with the picture. If your source is an MP4 or another video file, use the video translator rather than extracting the audio yourself. Our guide to online video translation covers that workflow. For pure recordings with nothing to watch, the audio translator is the more direct choice.
How to translate an audio file on Belin Doc
Step 1: Upload your audio file
Open the audio translator and upload one MP3, WAV, M4A, AAC or FLAC file. Each task takes one file, so upload multiple recordings as separate tasks. If you drop an audio file into the Docs or Video tab on the home page, it is forwarded to the audio translator for you.
Step 2: Choose the languages and whether to dub
Set the language spoken in the recording and the language you want, such as English. Then either pick an AI voice for dubbing or choose no dubbing if you only need translated subtitles. Right after upload you will see an estimate of the credits the task needs, based on the audio duration. The actual charge is made when you submit.
Step 3: Submit and follow progress
Submit the task and follow it under Recent tasks on the audio translation page, which is kept separate from your video tasks. Speech recognition, subtitle translation and, if selected, dubbing run in sequence.
Step 4: Review, edit and download
When the task finishes, check names, terms and numbers in the translated subtitles and correct anything that is wrong. With dubbing you can re-dub after editing so the voice matches your changes. Download the target-language audio together with the original and translated subtitles, or the translated subtitles alone if dubbing was off.
Frequently asked questions (FAQ)
Which audio formats can I translate?
MP3, WAV, M4A, AAC and FLAC. OGG, Opus, WMA and AMR files are not supported, so convert them to one of the accepted formats before uploading.
How much does it cost to translate an audio file?
Audio is billed by duration from your account's translation credits. The estimate appears as soon as you upload the file, and the actual charge happens when you submit.
What files do I get after translating audio?
With dubbing turned on you get the target-language audio, the original subtitles and the translated subtitles. With dubbing off you get the translated subtitles only.
Can I edit the translation and re-dub it?
Yes. After the task finishes you can edit the translated subtitles and generate the dubbing again, which uses extra credits. If dubbing was off, your edits simply update the subtitles.
Can I translate several audio files at once?
Each task takes one file, so upload each recording as its own task. Duration limits and the number of tasks that can run at the same time follow the same rules as video translation, and audio and video tasks count together.
Should I use the audio translator or the video translator?
Use the audio translator for recordings with nothing to watch, such as podcasts, interviews and voice memos. For video files, use the video translator so subtitles and dubbing stay in sync with the picture.